Why Enter COGS?
Entering your Cost of Goods Sold ensures these costs are deducted before vendor payment calculations, giving you accurate profit figures.
Method 1: Individual SKU Entry
- Navigate to Settings.

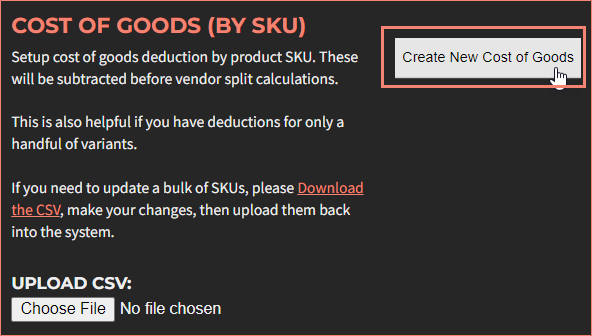
- Locate the Cost of Goods section.
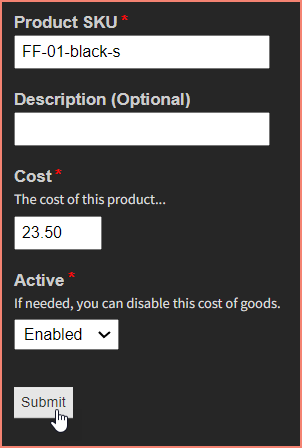
- Enter the product SKU, description, and cost.
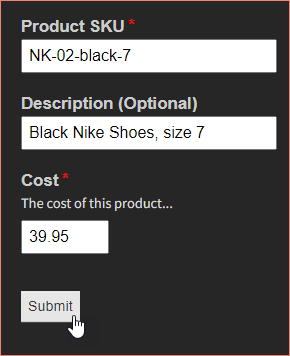
- Click Save.
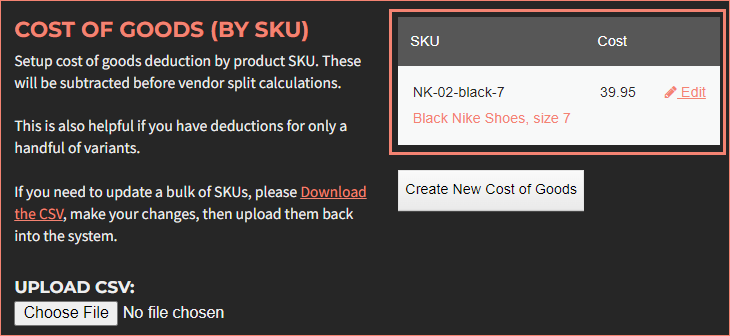
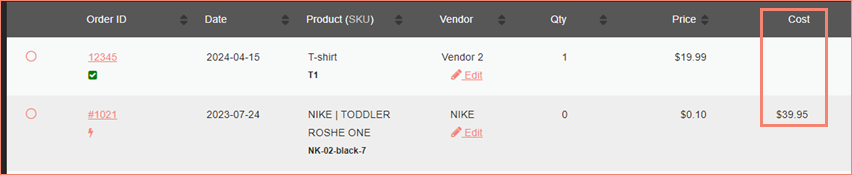
This approach works best when you have a small number of SKUs to manage. A new Cost column will appear on the Orders screen.
Method 2: Bulk CSV Upload
- In Settings, download the CSV template from the Cost of Goods section.
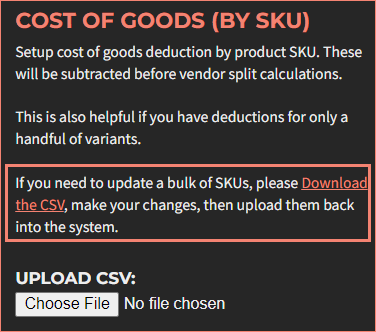
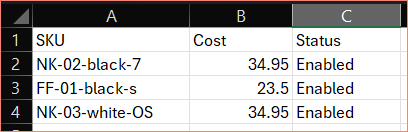
- Populate the template with SKU, cost, and status fields.
- Upload the completed CSV file.
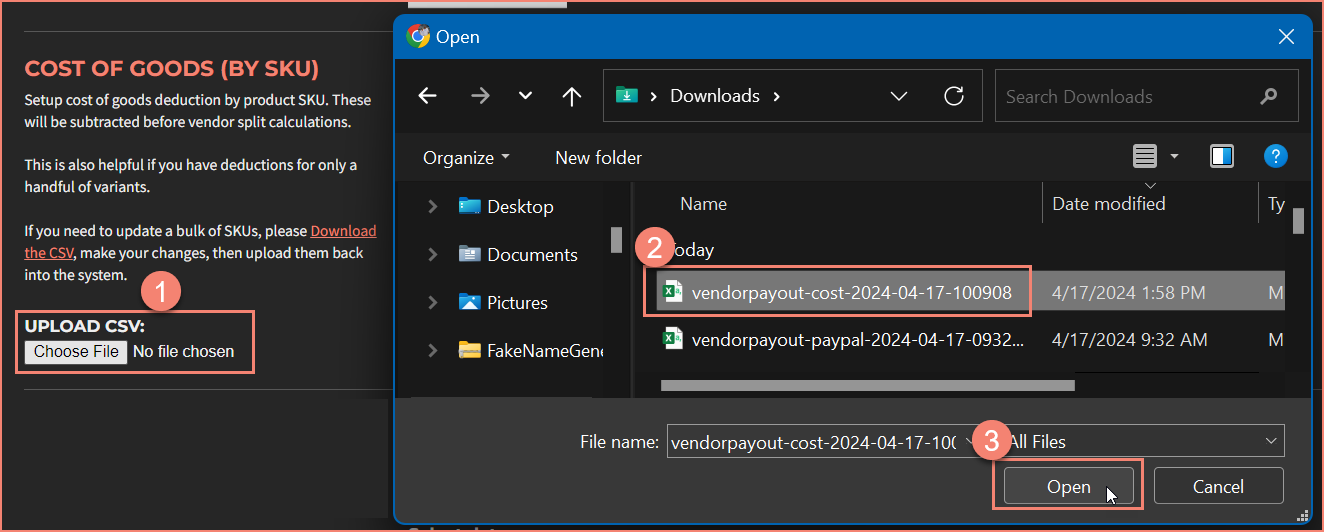
The system will automatically process the data.
Important
SKUs must match exactly between the CSV and VendorPayout records for proper association.
If you prefer to use Shopify's built-in cost field, contact support@vendorpayout.com for integration setup.
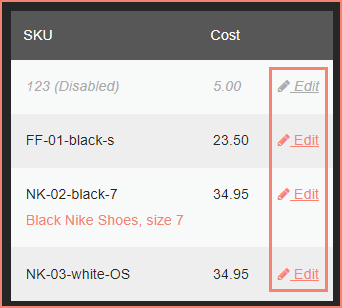
Editing COGS Entries
Locate the cost entry and click "Edit" to update it.
Update the fields and click Submit.